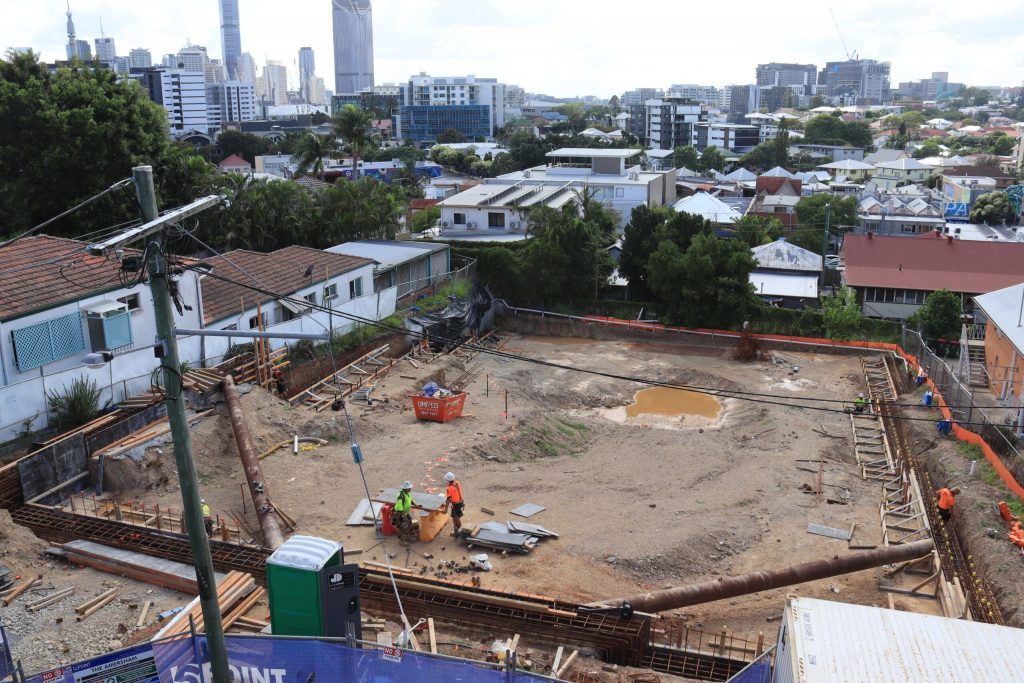
Time-lapse photography is an effective way to document the progress of construction projects. With time-lapse cameras, you can capture the entire process of a construction project in a short, visually compelling video. However, to ensure that your time-lapse camera is doing its job right, you need to consider several key factors.
- Camera Placement: Proper camera placement is essential for capturing the right shots. The camera should be placed in a location that provides an unobstructed view of the construction site and captures the desired angles. You should also make sure that the camera is securely mounted to avoid any accidental movements or falls.
- Interval Settings: Setting the right interval between shots is crucial for producing a smooth and consistent time-lapse video. A good starting point is to set the interval to capture one frame every 5-10 Minutes, but this may vary depending on the speed of construction and the desired end result.
- Power and Data Management: Time-lapse cameras typically require a constant power source and a large amount of data storage. Ensure that your camera has access to a reliable power source, such as a solar panel or generator, and consider using a data storage device with a large capacity to avoid running out of space during the project.
- Lighting: Proper lighting is essential for capturing high-quality images. You should place the camera in a location that provides adequate natural light, or consider using artificial lighting if necessary. Additionally, you should make sure that the camera is set to adjust to changing light conditions throughout the day.
- Camera Settings: Adjusting the camera settings, such as exposure, shutter speed, and ISO, can greatly impact the quality of the time-lapse video. You should experiment with different settings to find the right balance that produces the desired result.
- Weather Considerations: Weather can have a significant impact on time-lapse photography. Consider investing in a weatherproof housing for your camera to protect it from rain, snow, and other weather conditions. You should also have a plan in place for monitoring the weather and making adjustments to the camera accordingly.
- Post-Processing: After the construction project is complete, you will need to process the images into a final time-lapse video. You can use specialised time-lapse software to stitch the images together, adjust the speed, and add music or other effects if desired.
In conclusion, capturing a high-quality time-lapse video of a construction project requires careful planning and attention to detail. By considering factors such as camera placement, interval settings, power and data management, lighting, camera settings, weather considerations, and post-processing, you can ensure that your time-lapse camera is doing its job right and capturing the entire process of the construction project in a visually stunning way.
For all your time lapse needs, including time lapse camera hire and expert support, contact Construction Time Lapse Specialists and let us know how we can help you!


